How to install Raspberry Pi OS to NVMe storage by rpi-imager cli
เนื่องจากได้ case มาใหม่ซึงทำให้สามารถเพิ่ม NVME M.2 เข้าไปที่ Raspberry Pi ได้ และเครื่องที่ใช้อยู่ตั้งเป็น console mode เลยไม่มี mouse และ keyboard ให้ใช้และข้อมูลในเวปส่วนใหญ่จะเป็นวิธีการผ่าน GUI Desktop เลยจะมาแชร์วิธีการเอา Raspberry Pi OS ใส่เข้าไปยัง NVME storage ท่าไหน โดยขั้นตอนจะมีดังนี้
1. Download Raspberry Pi OS จาก link ด้านล่าง
https://www.raspberrypi.com/software/operating-systems/#raspberry-pi-os-64-bit
โดยได้เลือกไฟล์ 2024-07-04-raspios-bookworm-arm64.img.xz มา และใช้ command wget ในการโหลดตามตัวอย่าง
wget https://downloads.raspberrypi.com/raspios_arm64/images/raspios_arm64-2024-07-04/2024-07-04-raspios-bookworm-arm64.img.xz

2. ตรวจสอบชื่อ NVME device ด้วยคำสั่ง fdisk เพื่อใช้ในการระบุ device สำหรับการ extract OS เข้าไป
fdisk -l
จะเห้นมี disk device เยอะ ให้สั่งเกตุชื่อจะขึ้นต้นด้วย nvme ตามตัวอย่าง

3. เมื่อได้ชื่อ disk แล้วให้รันคำสั่ง rpi-imager ตามตัวอย่าง
rpi-imager --cli
ตัวอย่างเช่น
rpi-imager --cli 2024-07-04-raspios-bookworm-arm64.img.xz /dev/nvme0n1

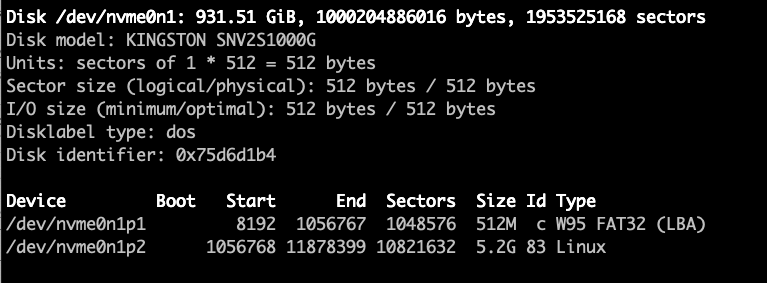
หลังจากรันคำสั่ง rpi-imager ใช้คำสั่ง fdisk เชค nvme จะพบว่ามีการเปลี่ยนแปลง partition table ตามนี้
4. เมื่อจัดการ disk เสร็จแล้วให้แก้ไข Boot Order เพื่อให้ NVME เป็นตัวแรกในการ boot โดยรันคำสั่ง
rasp-config
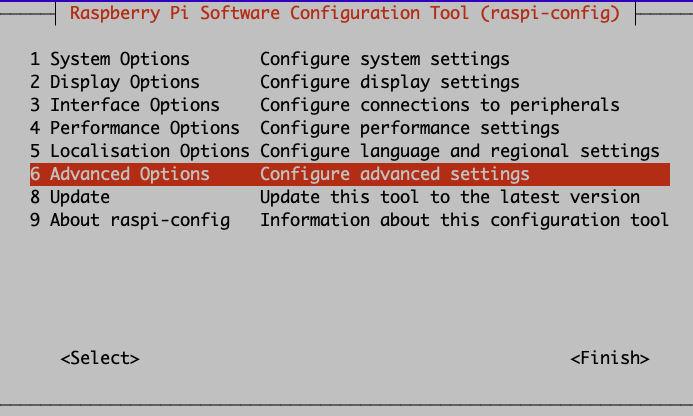
เลือก Advanced Options
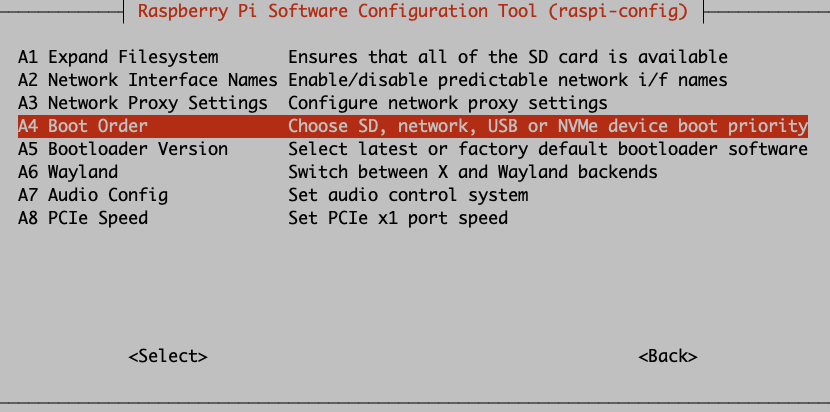
เลือก Boot Order
เลือก B2 NVMe/USB Boot และ OK
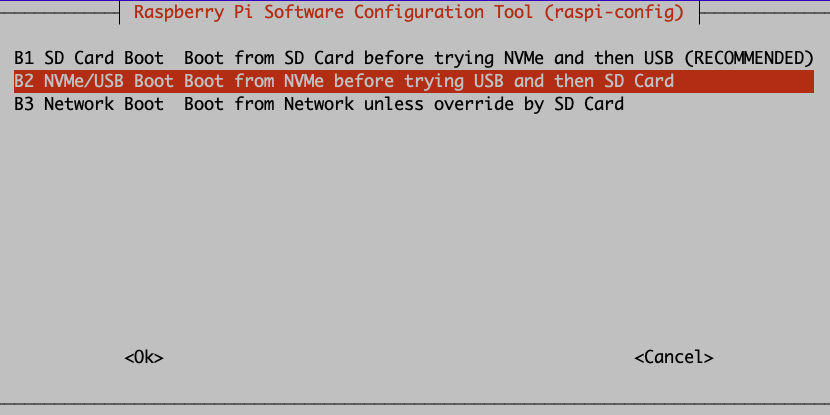
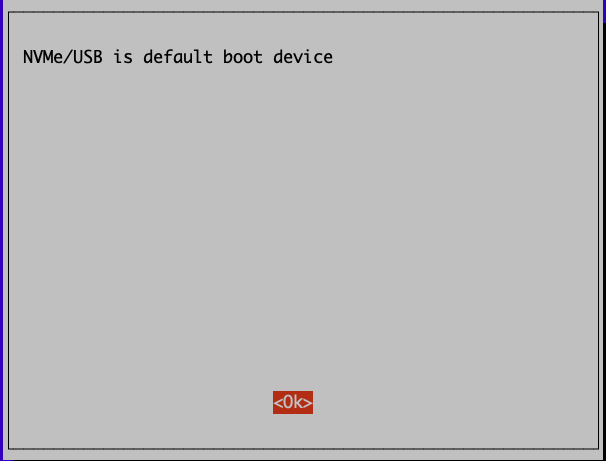
ระบบแจ้งว่าตั้งค่า boot เป็น NVMe/USB เป็น default แล้ว
ให้ reboot เพื่อเริ่มใช้งาน NVMe

5. Finsih and Reboot
